
Spot Colours In Photoshop
 Drop down menu in Swatches - Select Pantone Solid Uncoated and all the colours are added to your swatches
Refer to the spot colour by its unique reference code
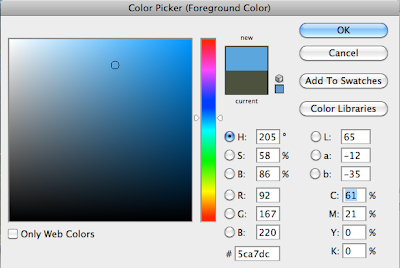
Above - Select Colour Libaries

Above - Then it gives you the unique reference code for Pantone, and can be refered to the Pantone swatch book
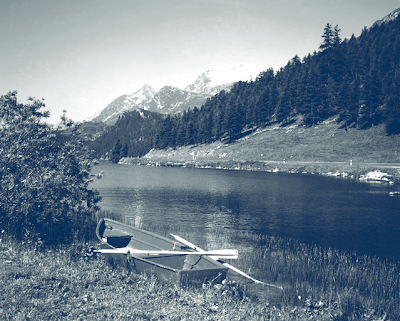
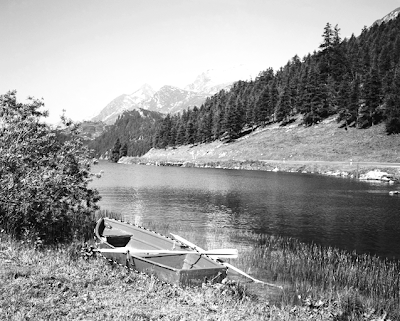
Duo tone image
Start off with a greyscale image
Make your you have a good balance under brightness and contrast
Image - Mode - Duotone
Automatic appears when saved as PSD into Indesign

Above - Duotone from Image - Mode. Click on Black to Select a Pantone colour Spot Colour

Above - Use Pantone Process Uncoated for matt stock, and select your spot colour
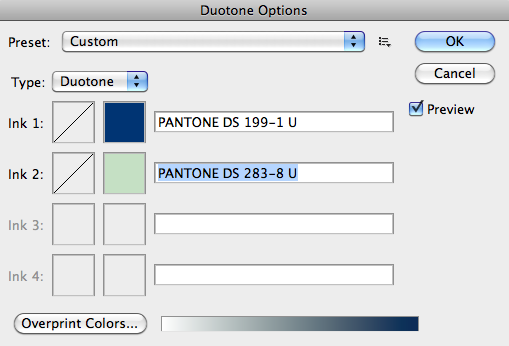
Above - Select the other colour as well, same method
Above - Duotone
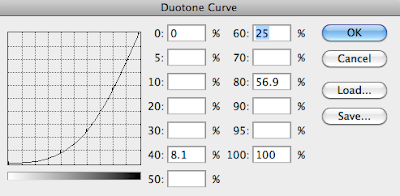
Above - Change the curve under Duotone

Above - The outcome using the Duotone
Under Duotone options you can also choose Tritone and Quadtone for spot colours.
Spot Colour Selected in a selection of area. Boat
Selection - Pen tool
Channels - New Spot Colour
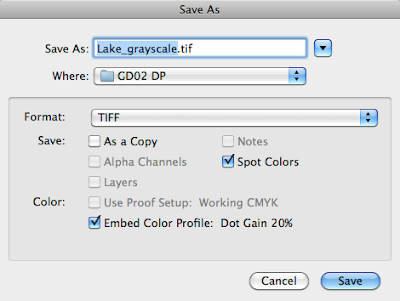
Above - Remember to tick spot colours when saving so can be transfered to Indesign
Above - Make selection of area you want the spot colour to be

Above - Channels - Drop down Menu at side - New Spot Channel

Above - Select and this is what it looks like
Spot Varnish
This is the same way you would create a Spot Varnish as well. But make sure the Pantone colour I select to be the spot varnish isn't used anywhere else in the documents and when at the printers mention that the spot colour pantone 172a is not the pantone 172a colour but instead a varnish.
No comments:
Post a Comment